This quick tutorial will get you up and
running with your Nvidia graphics card, it is a simple procedure and
you shouldn't find it at all difficult to follow.
The required items you will be needing are the devx_lina_xxx.sfs to suit the version of Carolina you are using, as well as the kernel source.
If you don't already have these, you can download the kernel source HERE and from the list below you can select the appropriate devx_lina_xxx.sfs.
Once you have downloaded both SFS files, open file manager Thunar, go to the download directory, using the mouse right-click menu select
each SFS file and Open With "SFS-Load program loader", select OK to load the file, then in the next popup select Copy, this will copy the SFS
to the same location where puppy_lina_xxx.sfs is, seeing these files are quite large, it would be wise to make a backup of them for future use.
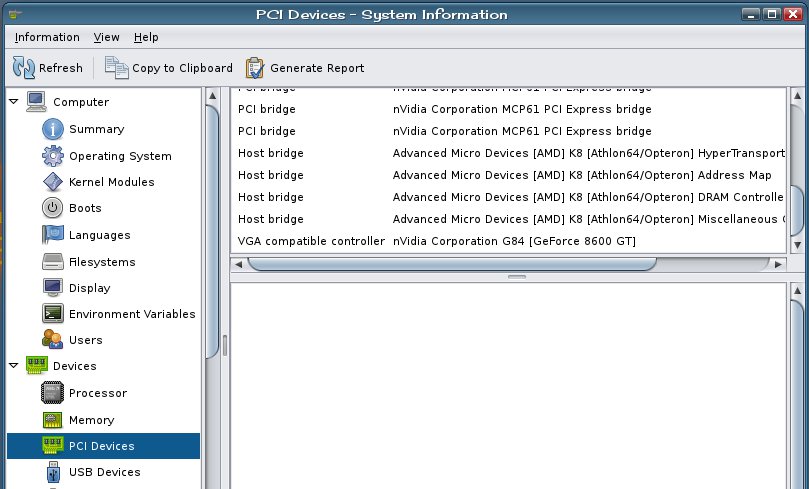
Next, to find your Nvidia card model go to the main menu, system > Hardinfo Hardware information.
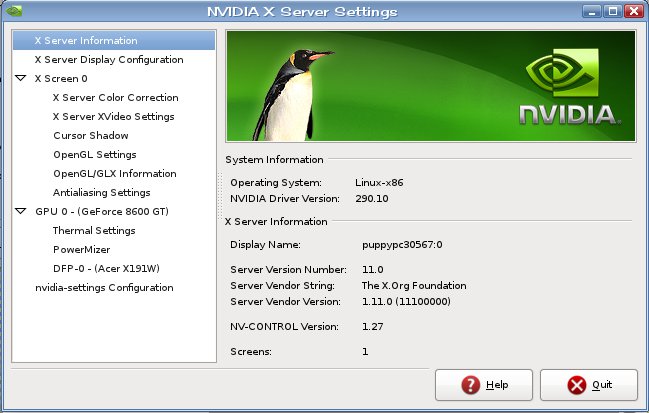
In this example you can see the nvidia device is a GeForce 8600 GT.
Below is the Nvidia driver download selector, select the options that best describe your video card and select search
this will offer a download for the card, select the download, then AGREE & DOWNLOAD.
Go to the download directory and copy the driver to the root directory, here you can rename it to a more manageable name, something like nv will do.
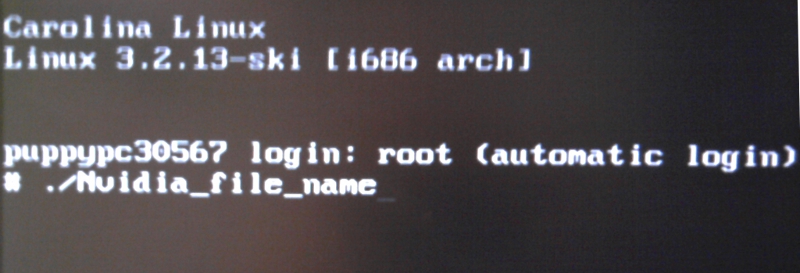
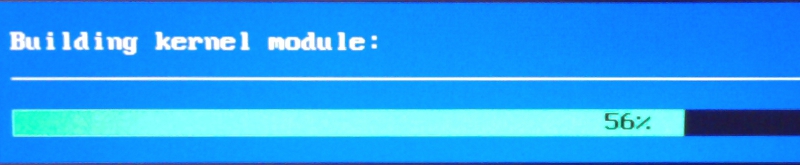
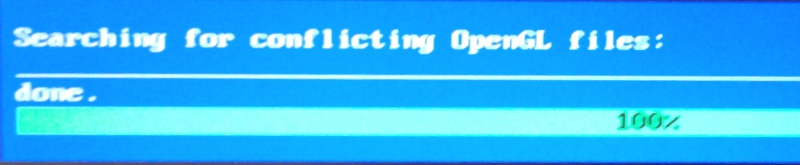
Now the installation starts.
Exit to a prompt and enter ./the name of the Nvidia driver you downloaded or the name you gave it and press enter
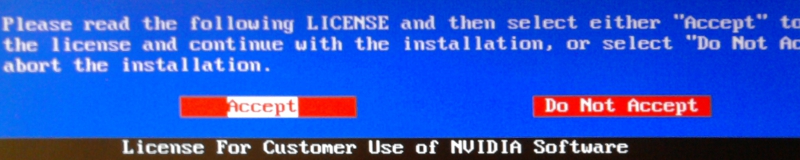
using the arrow keys, highlight and Accept the license agreement, press enter.

Answer YES.

Press enter to continue.

At the prompt type xorgwizard and press enter
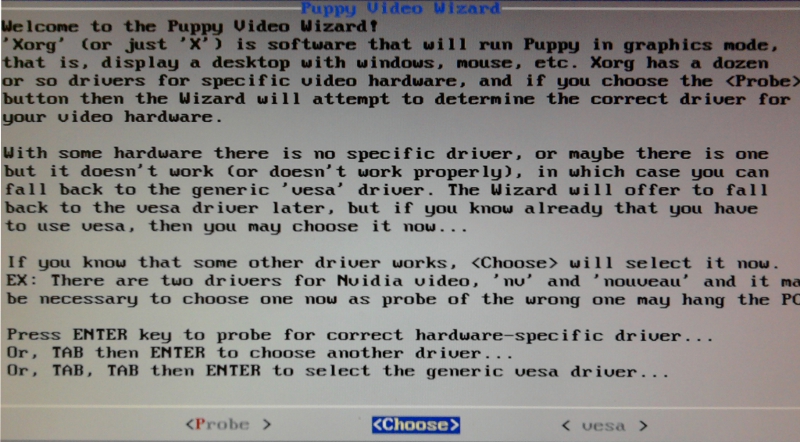
Select Choose and press enter .
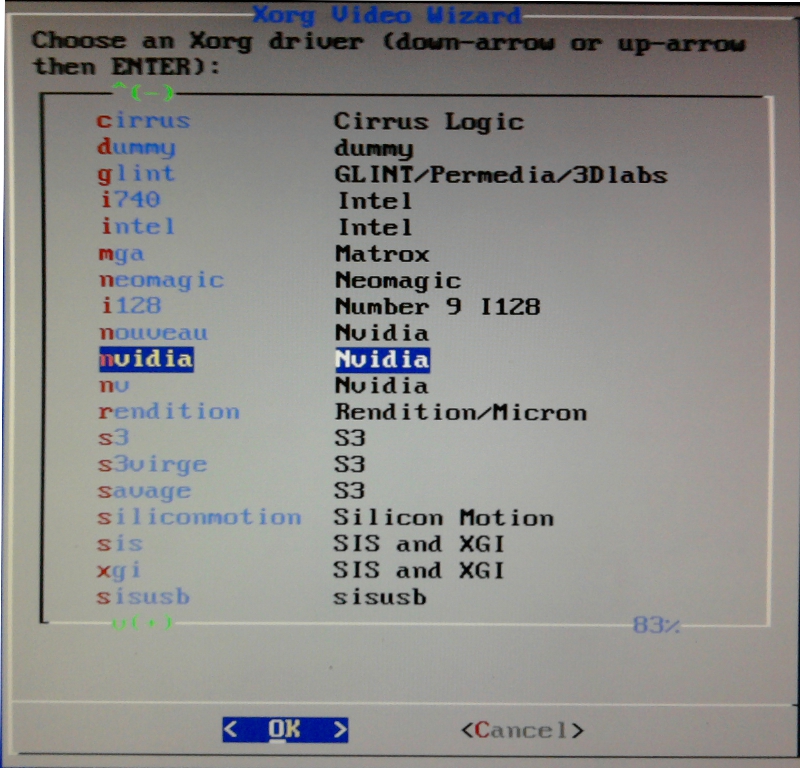
Scroll down to nvidia Nvidia, select OK press enter.
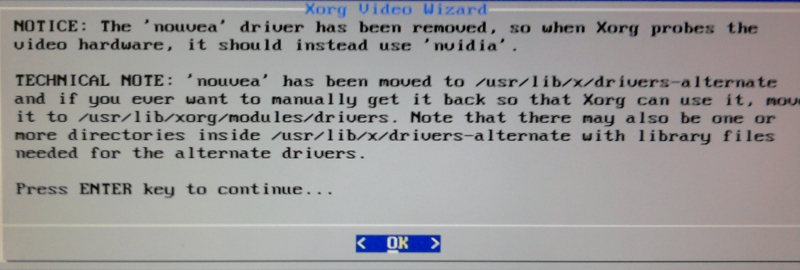
Press enter to continue.
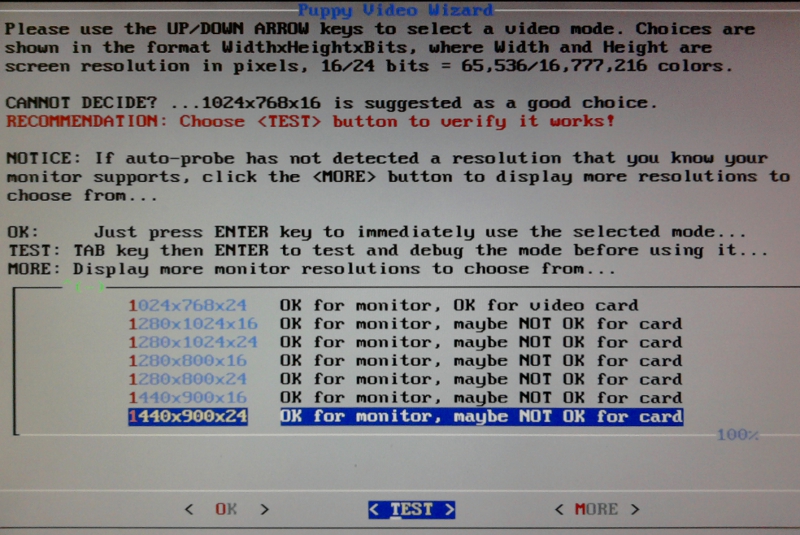
Select your monitors maximum screen resolution x 24bit color, select TEST press enter.
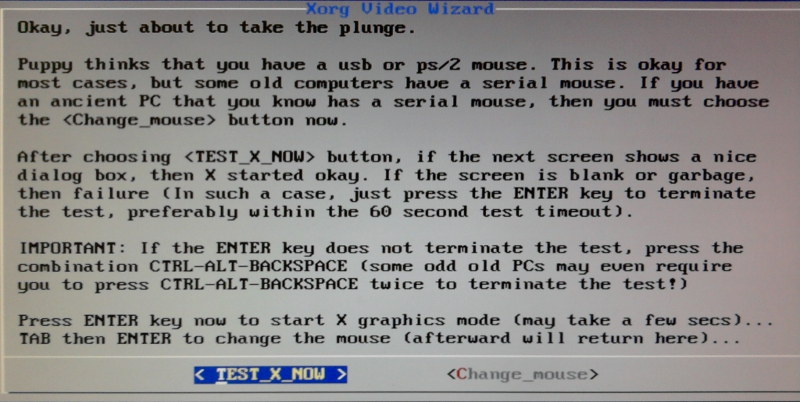
Read these instructions, so if there is a problem you know what to do, select TEST_X_NOW press enter.
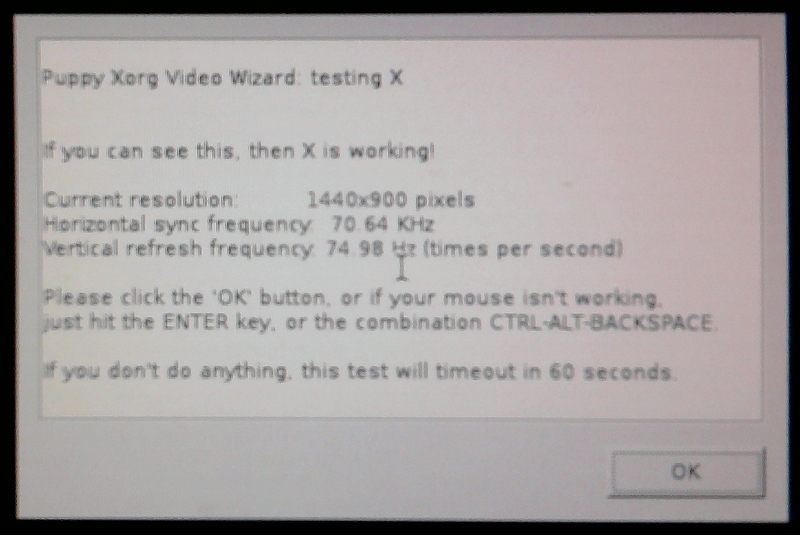
If all went well you will see this message, press enter to continue.
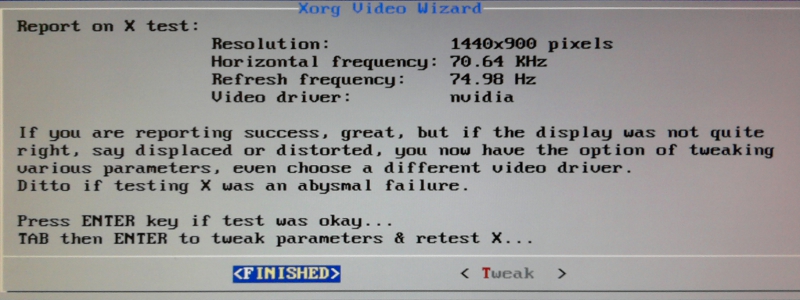
Select FINISHED press enter.

At the prompt type xwin press enter.

You should now be at the Desktop, open a terminal and type glxgears, you will be able to check the frame rate
of you newly installed Nvidia card, which will allow you to run OpenGL applications and games.
Not
quite finished yet though, the nvidia-settings.desktop
file
needs to be edited for it
to
show the menu
entry in Control Panel
> Hardware.
To do this go to Control Panel > Desktop, scroll to the bottom of the list and select xmenumaker, double click or select launch, click the modify button, in the next window scroll down to nvidia-settings.desktop, highlight it then click the edit button, either the inbuilt editor or Geany text editor will open, change the Categories line to read Categories=HardwareSettings save and close the editor, there will be a NVIDIA X Server Settings entry in Control Panel > Hardware.
To do this go to Control Panel > Desktop, scroll to the bottom of the list and select xmenumaker, double click or select launch, click the modify button, in the next window scroll down to nvidia-settings.desktop, highlight it then click the edit button, either the inbuilt editor or Geany text editor will open, change the Categories line to read Categories=HardwareSettings save and close the editor, there will be a NVIDIA X Server Settings entry in Control Panel > Hardware.